
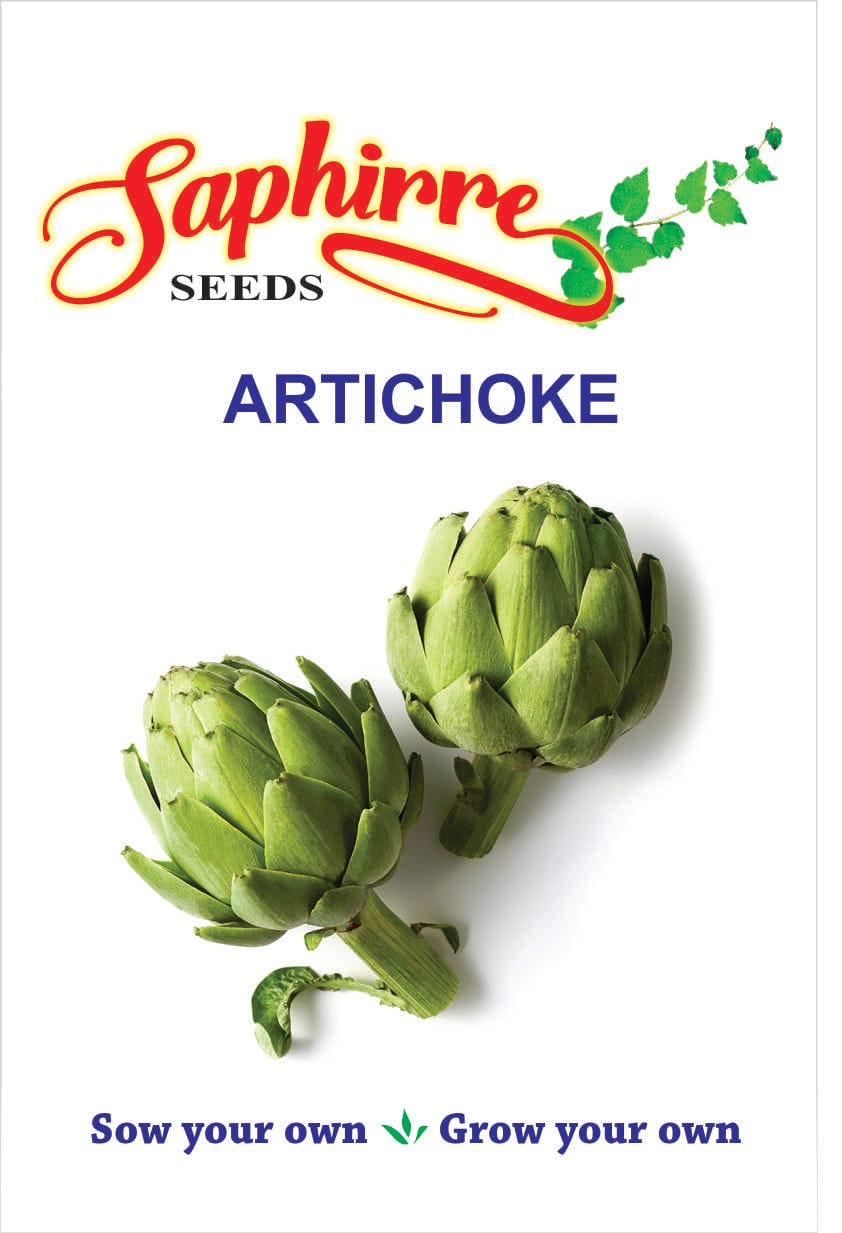





The Complete Guide to Artichoke Green Globe
If you want to cultivate a garden that screams sophistication, the Artichoke Green Globe is your ultimate VIP. Technically a member of the thistle family, these plants are the “divas of the vegetable patch”—striking, plump, and undeniably elegant. With origins tracing back to the Mediterranean, growing these in your backyard is like embarking on a culinary adventure that brings the gourmet flavors of Europe right to your dinner table.
Planting these seeds is an investment in your garden’s future. Because they are perennial vegetables, they are the “loyal friends” of the patch, returning season after season to provide you with a harvest. Whether you are steaming them, grilling them, or turning them into a decadent dip for game night, these Green Globes are guaranteed to be the main event of any meal.
Why Grow Artichoke Green Globe?
Gourmet Culinary Versatility: They are the ultimate culinary chameleons! From pasta dishes and pizzas to sophisticated appetizers, their rich, nutty flavor profile is second to none.
Impressive Nutritional Profile: Eating your harvest is a “high-five to your body.” They are packed with antioxidants, vitamins C and K, and dietary fiber, supporting digestion and liver health.
Low-Maintenance Luxury: While they appreciate a bit of TLC, they are surprisingly tough—once established, they are drought-tolerant and remarkably pest-resistant, making them a “flex” for any home gardener.
Architectural Beauty: With their massive, silvery-green leaves and stunning globes, they can grow up to 6 feet tall, serving as a breathtaking focal point in any landscaping plan.
| Feature | Requirement / Detail |
| Sowing | Indoors 8–10 weeks before last frost |
| Transplanting | After frost danger has passed |
| Sunlight | Full Sun |
| Soil Requirement | Well-drained, rich in organic matter |
| Plant Spacing | 3 feet apart |
| Watering | Regular (keep moist, not waterlogged) |
Step-by-Step Planting & Care Guide
Growing these “vegetable supermodels” is a rewarding craft:
Sowing: Start indoors 8–10 weeks before the last frost. Patience is a virtue here—give them time to establish strong roots!
Location: Choose a sunny spot with soil rich in organic matter. They need room to breathe, so space them 3 feet apart to ensure they have the “stage” to grow to their full, 6-foot potential.
Watering: Water them regularly. Think of it as providing a steady drink to keep them plump, but be sure not to waterlog the roots.
Mulching: A layer of mulch around the base is your “secret weapon”—it helps retain essential moisture and keeps pesky weeds at bay.
Feeding: Use a balanced fertilizer every 4–6 weeks during the growing season to ensure your harvest is large and tender.
Harvesting: This is the best part! Snip them when they are plump and firm. Don’t wait until they are too big, or they lose that coveted tenderness.
Lifestyle & Design Uses: A Multi-Sensory Star
The Conversation Starter: There is nothing like telling dinner guests, “I grew this myself!” It’s the ultimate bragging right.
Culinary Star: Whether you are pickling them for year-round enjoyment or stuffing them for a gourmet entree, they are versatile enough to make you look like a professional chef.
Visual Drama: Because they reach up to 6 feet, use them as an architectural element in your garden design. They are the perfect contrast to smaller herbs or leafy greens.
Follow-up: Are you looking to plant these as a focal point in your vegetable garden, or are you hoping to create a dedicated perennial patch?



Reviews
There are no reviews yet.